- Print
- DarkLight
- PDF
HaloPSA API Setup
Setting up the HaloPSA API is a crucial step in getting BillingBot up and running. Here's a step-by-step guide on how to set it up:
1. Create a New API-only Agent
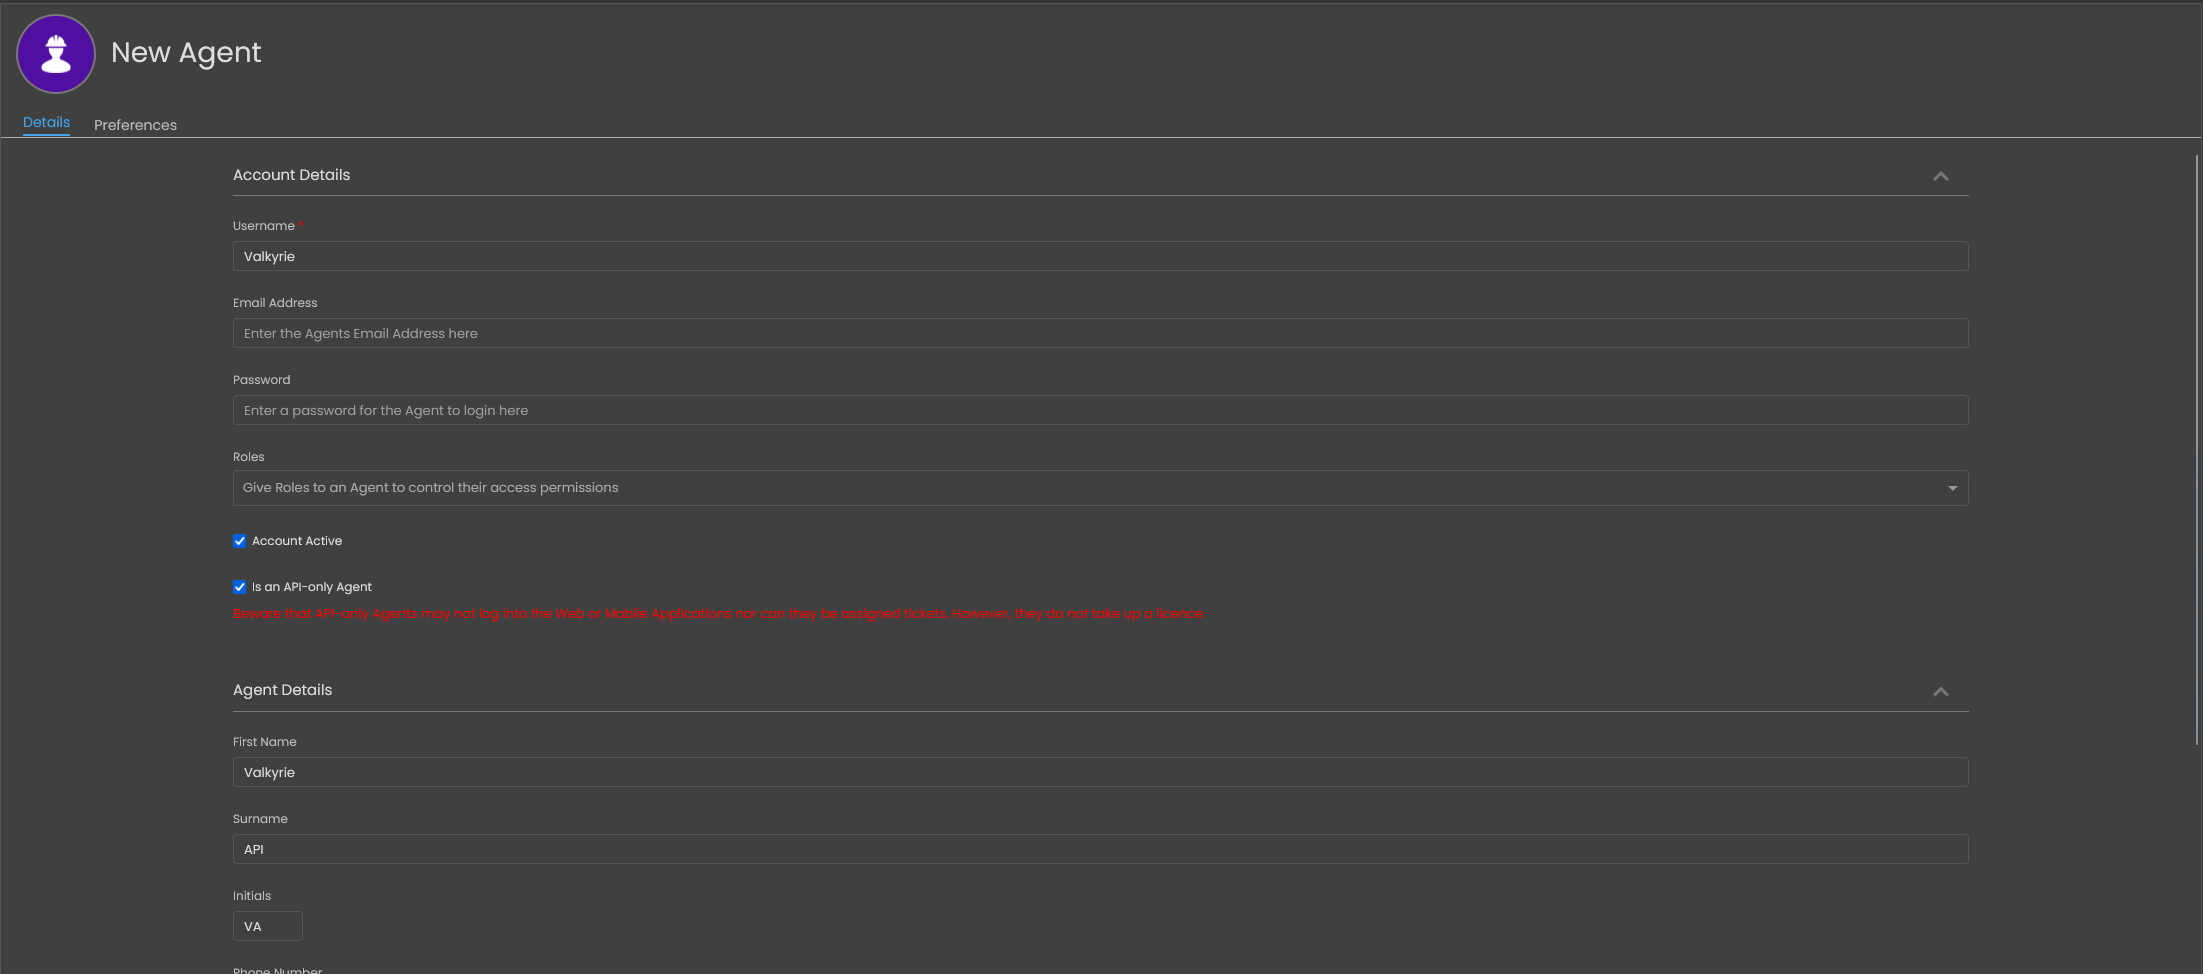
First, create a new API-only agent in HaloPSA. API-only agents do not consume a license, so you don't have to worry about using up your available licenses. Make sure to name it something distinct for easy identification.
NOTE: Due to limitations on the HaloPSA API, you must grant the API Agent the ‘Administrator’ Role for BillingBot to function correctly.This does not mean BillingBot will have administrative access to your instance - the Permissions will be restricted at the API application level when creating it.

2. Create a New Application
Next, navigate to Configuration -> Integrations -> HaloPSA API -> Applications -> View Applications and click "New". This will allow you to create a new application for BillingBot.
.png)
3. Configure the Application
Name the application something distinct and select "Client ID and secret" as the Authentication type. This will allow BillingBot to authenticate with the HaloPSA API.
4. Select the Agent
Under "Agent to log in as", select the agent you created in step 1. This will allow the application to log in as this agent when interacting with the HaloPSA API.
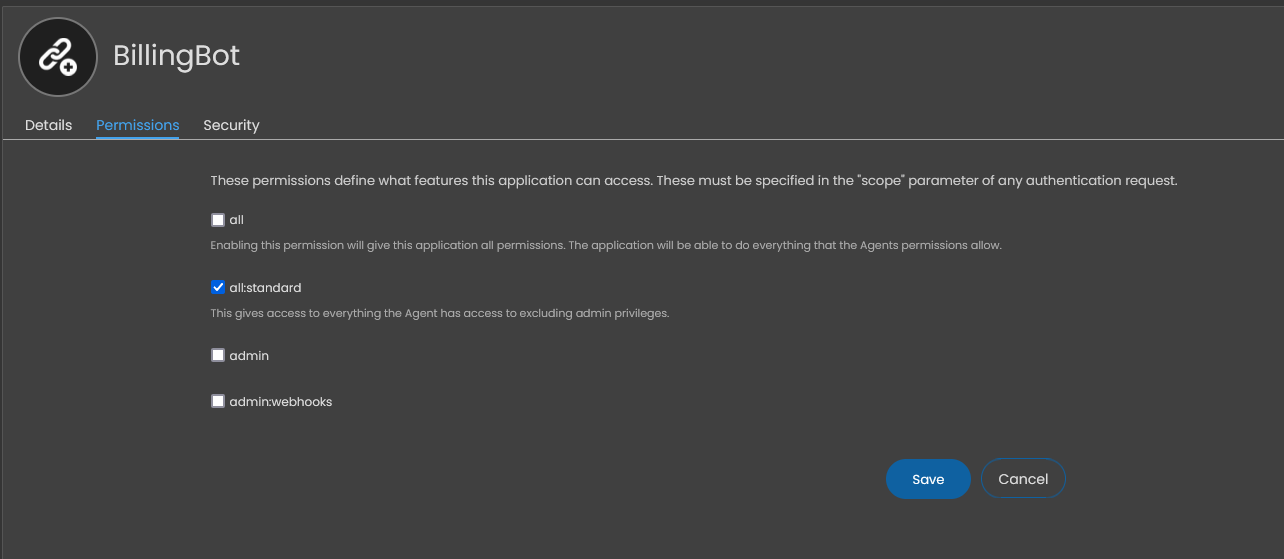
5. Grant Permissions
On the permissions tab, grant the “All:Standard” scope. This allows BillingBot to interact with all the necessary functions of HaloPSA without being an actual administrator.


